Setup a Local Devnet
This document aims to guide you in compiling Artela code, configuring, and generating a testnet setup consisting of a minimum of four validators. Subsequently, we will outline how to deploy these configuration and data files to four individual machines.
Note: open 26656 and 26657 out port for all machines.
1. Prepare the development tools
SKIP this if you have already got your go development environment ready.
sudo apt-get update
sudo apt-get install -y make gcc
wget https://go.dev/dl/go1.20.3.linux-amd64.tar.gz
sudo rm -rf /usr/local/go && sudo tar -C /usr/local -xzf go1.20.3.linux-amd64.tar.gz
# export PATH=$PATH:/usr/local/go/bin
You need to create a folder to store your source files, for example, /home/user1/go/src.
Then, set /home/user1/go as the GOPATH by using the following command: go env -w "GOPATH=/home/user1/go".
This ensures that the necessary Go environment variables are configured correctly.
2. Clone and build the code
cd $GOPATH/src/github.com/artela-network
git clone https://github.com/artela-network/artela-cometbft.git
# git clone https://github.com/artela-network/artela-cosmos-sdk.git
# git clone https://github.com/artela-network/artela.git

cd artela
make clean && make
# find 'artelad' in ./build

# you can copy the binary to $GOPATH/bin
# this is unnecessary if your are going to run testnet in docker
make install
3. You can either start the testnet in docker or in 4 devices
Option 1: Start 4-validator testnet in docker
1). Prepare your docker and docker-compose (ubuntu/debian)
sudo apt update
sudo apt install apt-transport-https ca-certificates curl software-properties-common
curl -fsSL https://download.docker.com/linux/ubuntu/gpg | sudo apt-key add -
sudo add-apt-repository "deb [arch=amd64] https://download.docker.com/linux/ubuntu focal stable"

apt-cache policy docker-ce
sudo apt install docker-ce

sudo systemctl status docker
# check if docker is ready
docker run hello-world

# install docker-compose
sudo apt install docker-compose
2). Start testnet
cd artela # in your artela root path
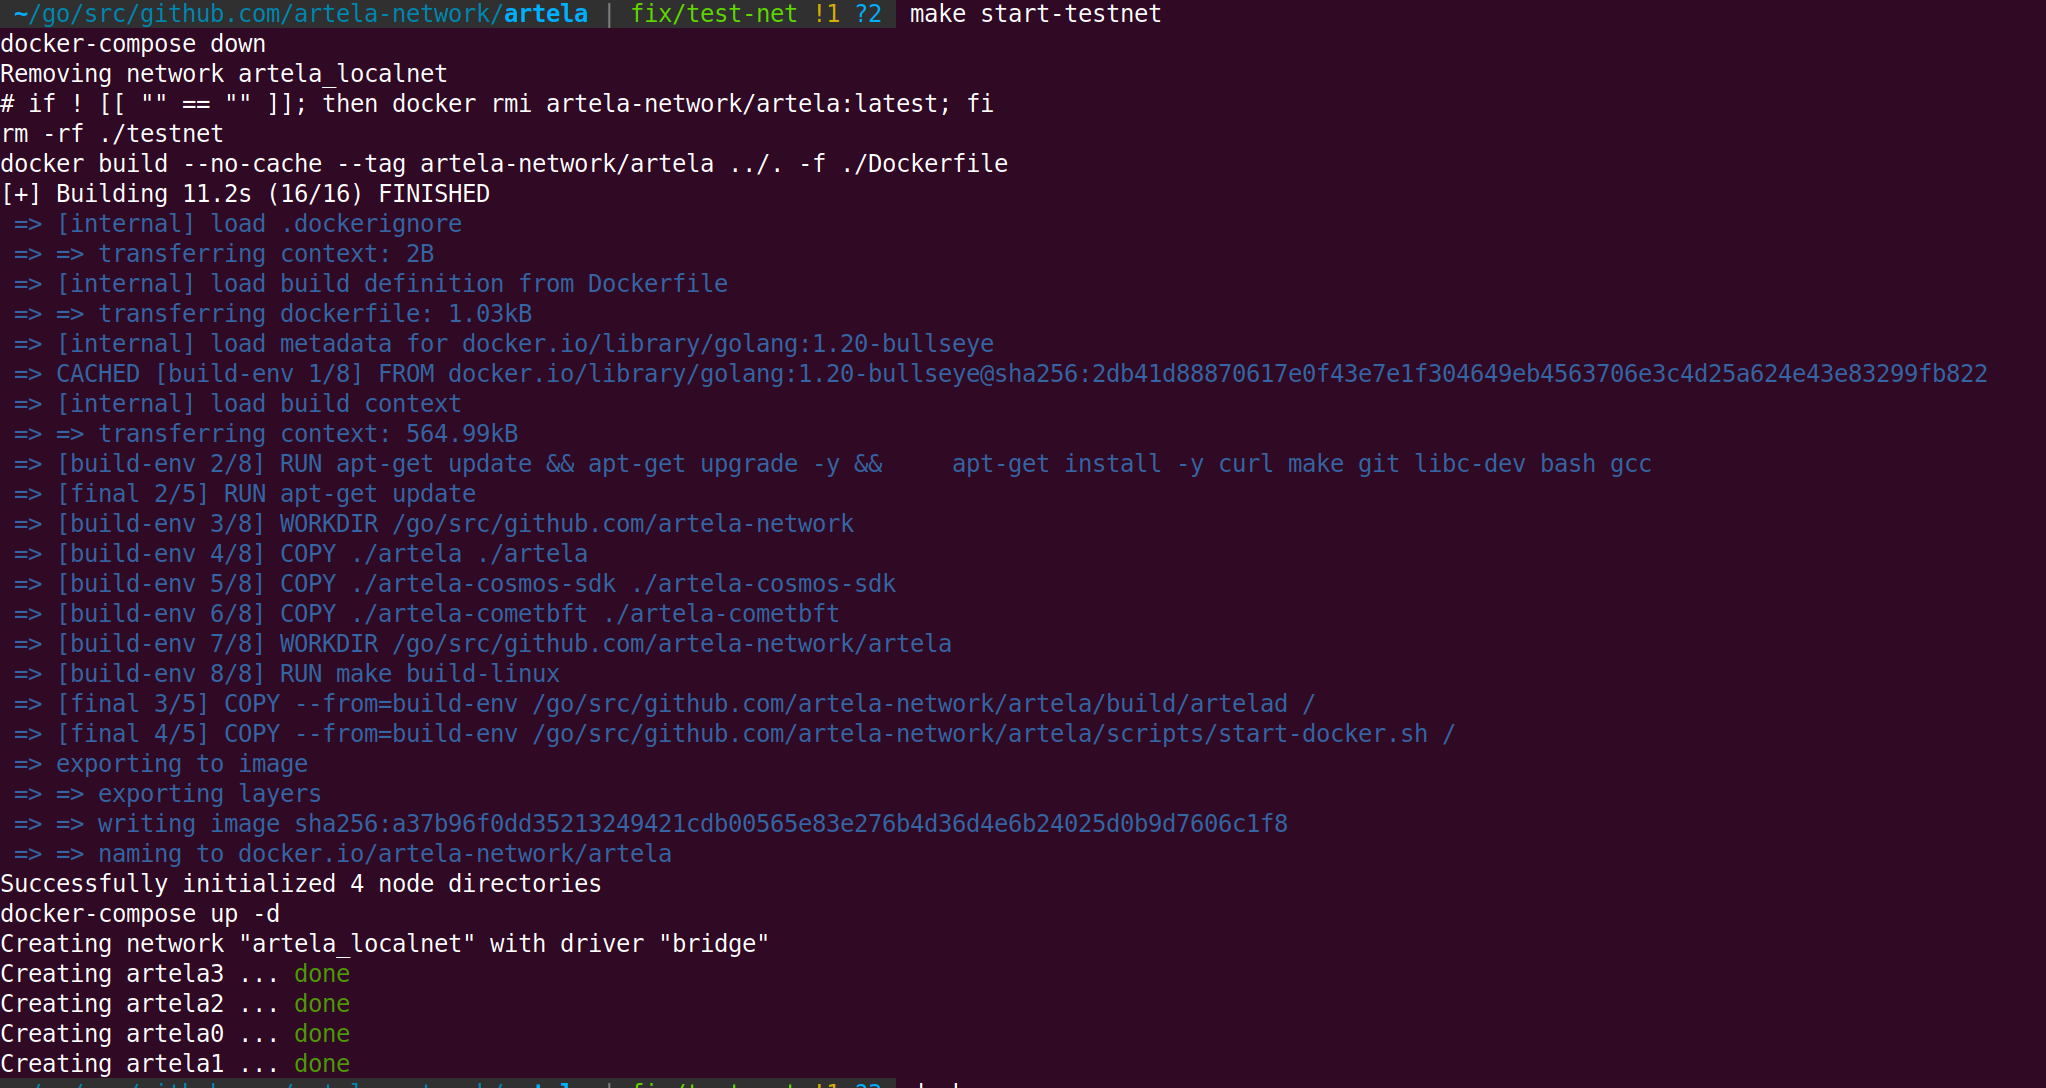
make create-testnet

- More
makeoptions about testnet:
| Command | Description |
|---|---|
| build-testnet | Build Docker images for the testnet and create a configuration for 4-validator nodes. |
| create-testnet | Remove a previously built testnet, build it again using build-testnet, and start Docker containers. |
| stop-testnet | Stop the running Docker containers for the testnet. |
| start-testnet | Start the previously stopped Docker containers for the testnet. |
| remove-testnet | Stop the Docker containers and remove all components created by the build-testnet command. |
3). View the log of Artela node
The log is saved in the ./_testnet/node0/artelad/node.log, to monitor the log by
tail -f ./_testnet/node0/artelad/node.log
Log of other nodes in
./_testnet/node1/artelad/node.log
./_testnet/node2/artelad/node.log
./_testnet/node3/artelad/node.log
Option 2: start 4-validator testnet in your device
1). Generate 4-validator network configuration
# in artela root
./build/artelad testnet init-files --chain-id artela_11822-1 --v 4 --output-dir ./testnet --starting-ip-address 172.16.10.2
Configuration:
--chain-id
With a format of artela_\<NUMBER>-1, NUMBER could be one of
11822,11821.--v
The count of validators.
--output-dir
Where the configuration of validators will be generated.
--starting-ip-address
The nodes will be pre-allocated based on IP addresses incremented in sequence from that starting address. For instance, node 0 will be assigned the
starting-ip-address, node 1 will be assignedstarting-ip-address + 1, node 2 will be assignedstarting-ip-address + 2, and so on. Subsequently, in the node configurations, persistent_peers will be set according to the node's IP address.
2). Update ip address of each node
In each node's config.toml, update the IP addresses of the peers listed under persistent_peers. You can use the following command for this:
cd testnet
sed -i 's/172.16.10.3/<your-device-1-ip>/g' node0/artelad/config/config.toml
sed -i 's/172.16.10.4/<your-device-2-ip>/g' node0/artelad/config/config.toml
sed -i 's/172.16.10.5/<your-device-3-ip>/g' node0/artelad/config/config.toml

sed -i 's/172.16.10.2/<your-device-0-ip>/g' node1/artelad/config/config.toml
sed -i 's/172.16.10.4/<your-device-2-ip>/g' node1/artelad/config/config.toml
sed -i 's/172.16.10.5/<your-device-3-ip>/g' node1/artelad/config/config.toml

sed -i 's/172.16.10.2/<your-device-0-ip>/g' node2/artelad/config/config.toml
sed -i 's/172.16.10.3/<your-device-1-ip>/g' node2/artelad/config/config.toml
sed -i 's/172.16.10.5/<your-device-3-ip>/g' node2/artelad/config/config.toml

sed -i 's/172.16.10.2/<your-device-0-ip>/g' node3/artelad/config/config.toml
sed -i 's/172.16.10.3/<your-device-1-ip>/g' node3/artelad/config/config.toml
sed -i 's/172.16.10.4/<your-device-2-ip>/g' node3/artelad/config/config.toml
3). Update EVM version config
# in artela/testnet folder
sed -i 's/"extra_eips": \[\]/"extra_eips": \[3855\]/g' node0/artelad/config/genesis.json
sed -i 's/"extra_eips": \[\]/"extra_eips": \[3855\]/g' node1/artelad/config/genesis.json
sed -i 's/"extra_eips": \[\]/"extra_eips": \[3855\]/g' node2/artelad/config/genesis.json
sed -i 's/"extra_eips": \[\]/"extra_eips": \[3855\]/g' node3/artelad/config/genesis.json
4). Copy the node configuration to your devices
Copy each of the node configurations in artela/testnet/ to the device.
scp ./testnet/node0/artelad/* user@your-device-0:~/.artelad/
scp ./testnet/node1/artelad/* user@your-device-1:~/.artelad/
scp ./testnet/node2/artelad/* user@your-device-2:~/.artelad/
scp ./testnet/node3/artelad/* user@your-device-3:~/.artelad/
4). Download and install artelad in your device
5). Run node one by one
Start the node in your devices.
artelad start --pruning=nothing --log_level debug --minimum-gas-prices=0.0001art --api.enable --json-rpc.api eth,txpool,personal,net,debug,web3,miner --api.enable
4. The genesis account
In the process of generating the testnet, each validator node has a corresponding EOA (Externally Owned Account) account with the encryption algorithm eth_secp256k1, which is written into the genesis.json file. Additionally, 5e21 uart have been deposited into each account. The key.info of each account is stored in
~/.artelad/config/keyring-test/node<validator_number>.json.
KEEP YOUR KEYINFO SECURE.